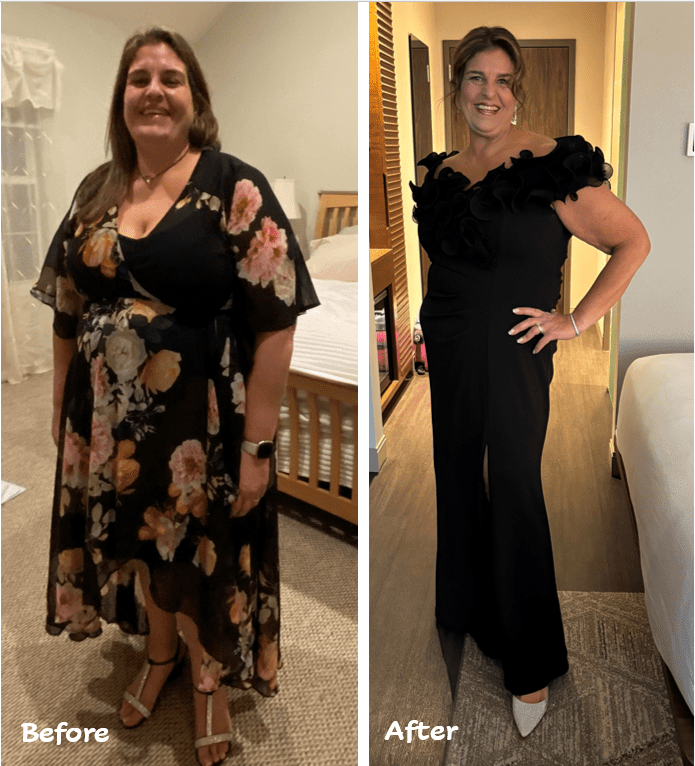

Let’s face it, our lives aren’t the same as previous generations. We no longer have a majority of the workforce in manual labor jobs or those that require much physical activity at all. Instead we have become a population who spends sometimes up to 10 hours a day hunched over a computer or at our desks. The resulting poor posture can lead to back and neck pain and an overall difficulty moving well in general. While most of our clients goals are centered around fat loss, it’s still extremely important to move well to ensure the durability needed to train hard towards your goal.
Nearly everyone that comes in for one of our fitness consultations here at EastPointe Health and Fitness presents with what is referred to as an Upper and Lower Crossed Syndrome. To keep this simple this means the client will have tight and overactive chest and upper back musculature while the deep neck flexors and shoulder stabilizers will be inhibited and weak. Similarly at the hip the client will have weak abs and glutes that are being inhibited by stiff or overactive hip flexors and low back musculature.

Listed below are 4 of our go to drills to help improving posture for the everyday desk jockey. We are going to work backwards with our initial goal being mobilizing or releasing the stiff areas then activating and strengthening the weak ones.
1. ½ Kneeling Rectus Femoris Stretch

Description: Place a mat on the ground slightly in front of a bench or even a couch at home. Place the down knee on the mat with the foot propped up on the bench. The other leg should be at approximately 90 degrees in front of the pad. It is important to try and get your spine as tall as possible and squeeze your glute on the down leg. From here remain tall and try to slightly push your hip forward, making sure to maintain a flat back without arching and hold for 2 sec. Perform 8 reps on each side.
2. Seated T-Spine Extensions


Description: Sit on the edge of a bench or chair and place either a pillow or foam roller between your knees. Interlock fingers behind your head and throughout the drill try to keep your neck in a neutral position. Making sure to crush the roller or pillow between your knees your goal is going to be to try and look up at the ceiling WITHOUT lifting your neck. The roller ensures that you are not bending from the lumbar spine and feet must remain on the floor. Some helpful cues for our clients have been to “look up, without looking up” and “reach your chest to the sky.”
3. Single Leg Bridge w/ Knee Lift

Description: Now we’re looking to activate the weak glutes that you’ve only been using for sitting the last 10 yrs. Lie on your back and with one foot flat and knee bent to about 90degrees. Flex the other hip by bringing the knee as close to the chest as possible. From this position drive your heel into the ground and focus on lifting the hip by squeezing the glute of the down leg. Some hamstring cramping is normal and you should try to avoid this by ONLY using the glute. This will subside as you improve at the movement. Start with sets of 8 reps each and progress to 15. Again focus only on how high the glute brings you, making sure not to arch the lower back.
4. Wallslides
 |
 |
 |
Description: This is one of the most undervalued and misunderstood postural exercise we have found at EastPointe Health and Fitness. Stand flat back against the wall making sure to keep the entire spine in contact with the wall. Starting with the arms up in a Y press your arms back against the wall and slide them down into a W. It is important to make sure ALL segments remain in contact. If cannot reach this is fine but make sure the lower back stays in contact and you can your feet outward if you need to . The most common mistake is arching the back off of the wall so that the arms can reach… like this…

Our most successfully cue has been to be push the arms back but the lower back has to win. Work up to sets of 15.
So give these drills a shot before your next workout and I think you’ll be surprised just how hard these can be when you are someone who indeed does have poor posture. After a few weeks and with a sound strength training programs you should begin to see drastic improvement in your posture and how you feel in general. As always if you are unsure about how to perform these exercise or aren’t sure if they are for you make sure to ask one of our coaches at EastPointe Health and Fitness.